How to soak, season and cook dried beans in an instant pot, slow cooker or on the stove. How to store beans and how to prevent beans from making you gassy. All in one bean resource guide.
Jump to:
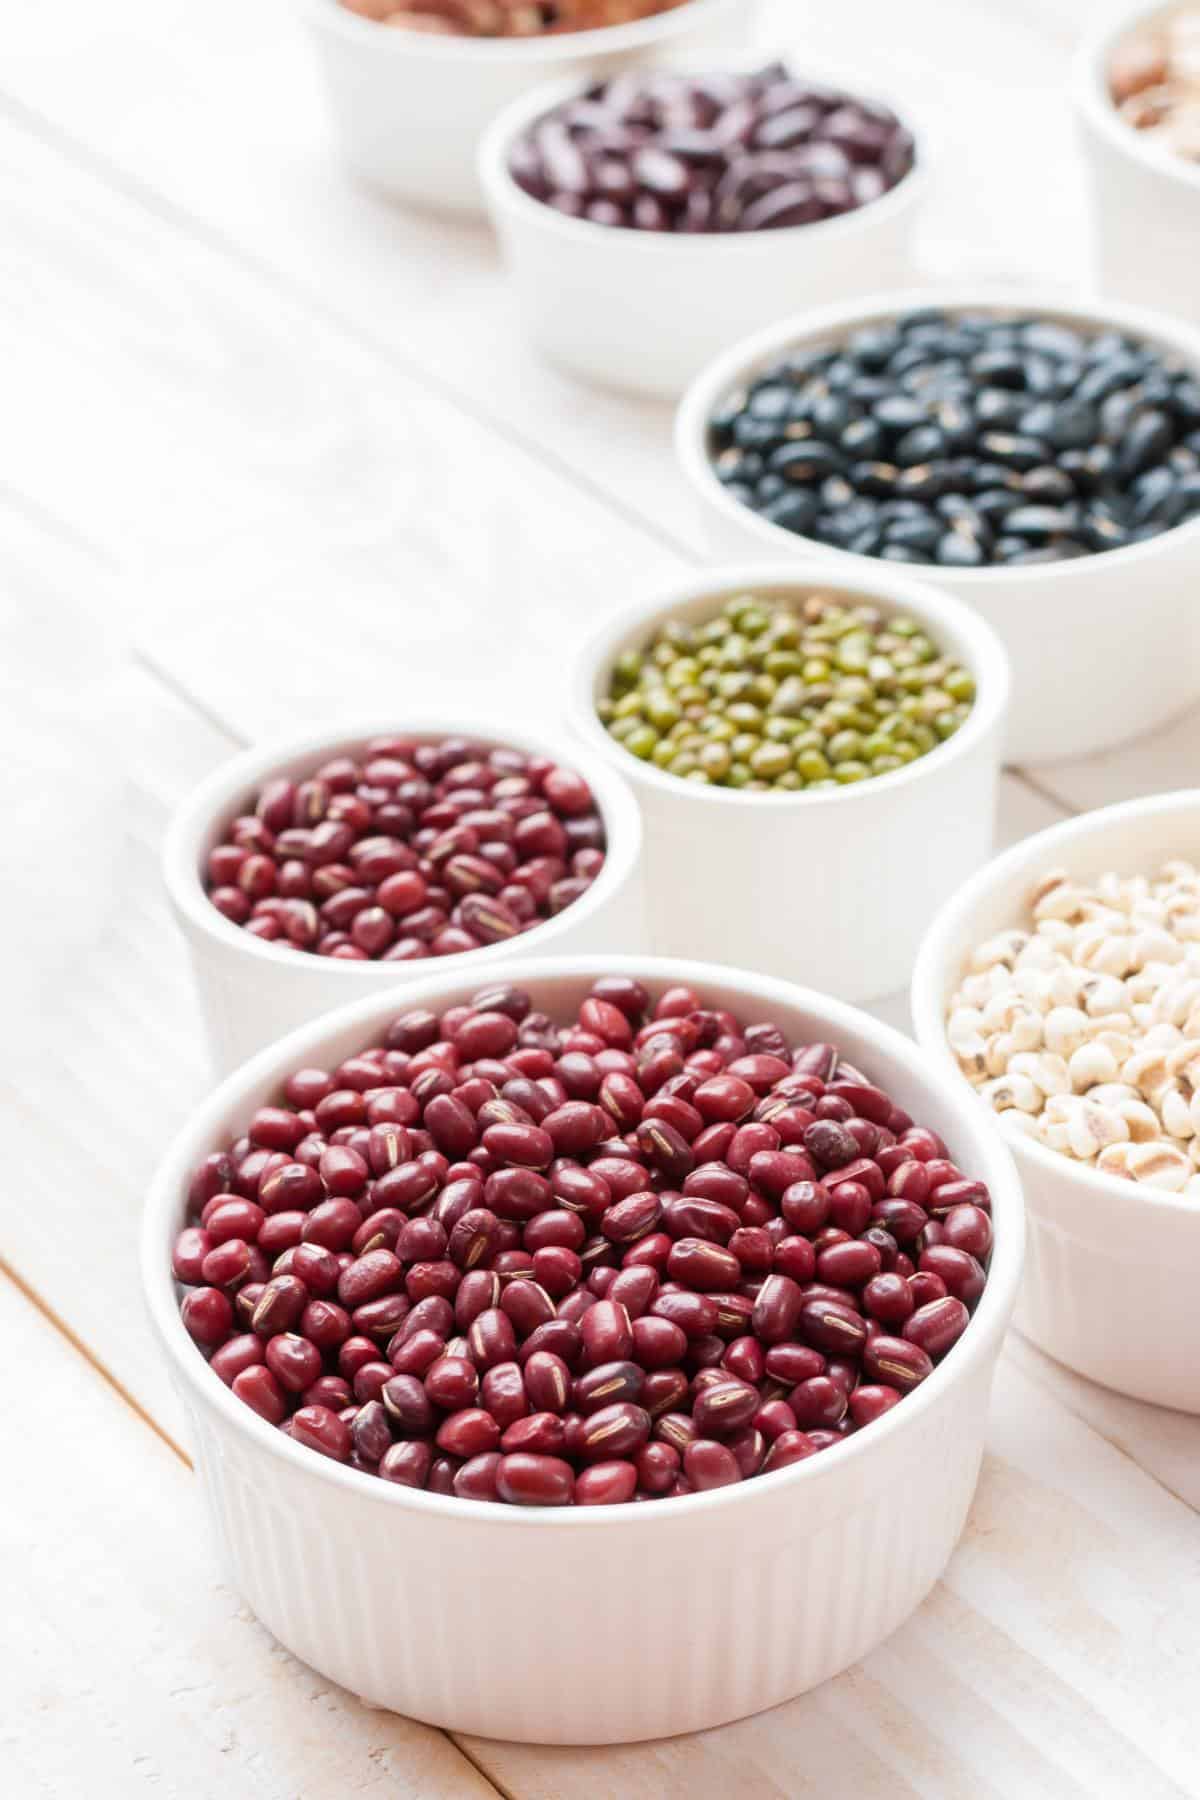
So, you’ve decided it’s time to finally cook that package of beans that’s been sitting in your pantry. Fantastic!
Cooking beans from scratch can feel a little daunting in the beginning, but it’s a lot easier than you think.
I love having canned beans on hand for quick, easy meals. But cooking beans from scratch also has a part in my kitchen.
It’s more affordable and more delicious when you know how to season them. You can also use a lot less salt than what would come in canned beans.
Why you should eat beans
- Beans are an amazing source of protein and they’re high in a very specific amino acid called lysine which isn’t found in many other plant foods besides quinoa, pistachios, pumpkin seeds and seitan.
- They're great for longevity since the longest living people eat about a cup a day.
- Beans are incredibly affordable.
- Beans are high in fiber and antioxidants.
- Beans are extremely versatile and can replace meat in most recipes
- Eating beans regularly feeds the good bacteria in your gut making your gut (and therefore your overall health) more diverse, balanced and healthy.
Expert tips
The directions in this post don’t apply to lentils or split peas, since they cook faster. Just add them right to a lentil and vegetable soup, or check out my how to cook red lentils blog post if you're interested.
- Make sure the beans aren’t more than two years old - If you’ve ever tried cooking a pot of beans that never seemed to soften, it could be because they were more than two years old. Beans are best eaten within two years of their harvest
- Take out any pebbles or broken beans - Pour the beans out into a colander or baking sheet and make sure to take out any broken pieces or pebbles. The smaller, broken pieces will cook faster than the whole beans and become too mushy.
- If cooking on the stove, don't add salt until beans are halfway done cooking. Otherwise it will take longer for them to soften. This doesn't apply to the instant pot.
Why you should soak beans
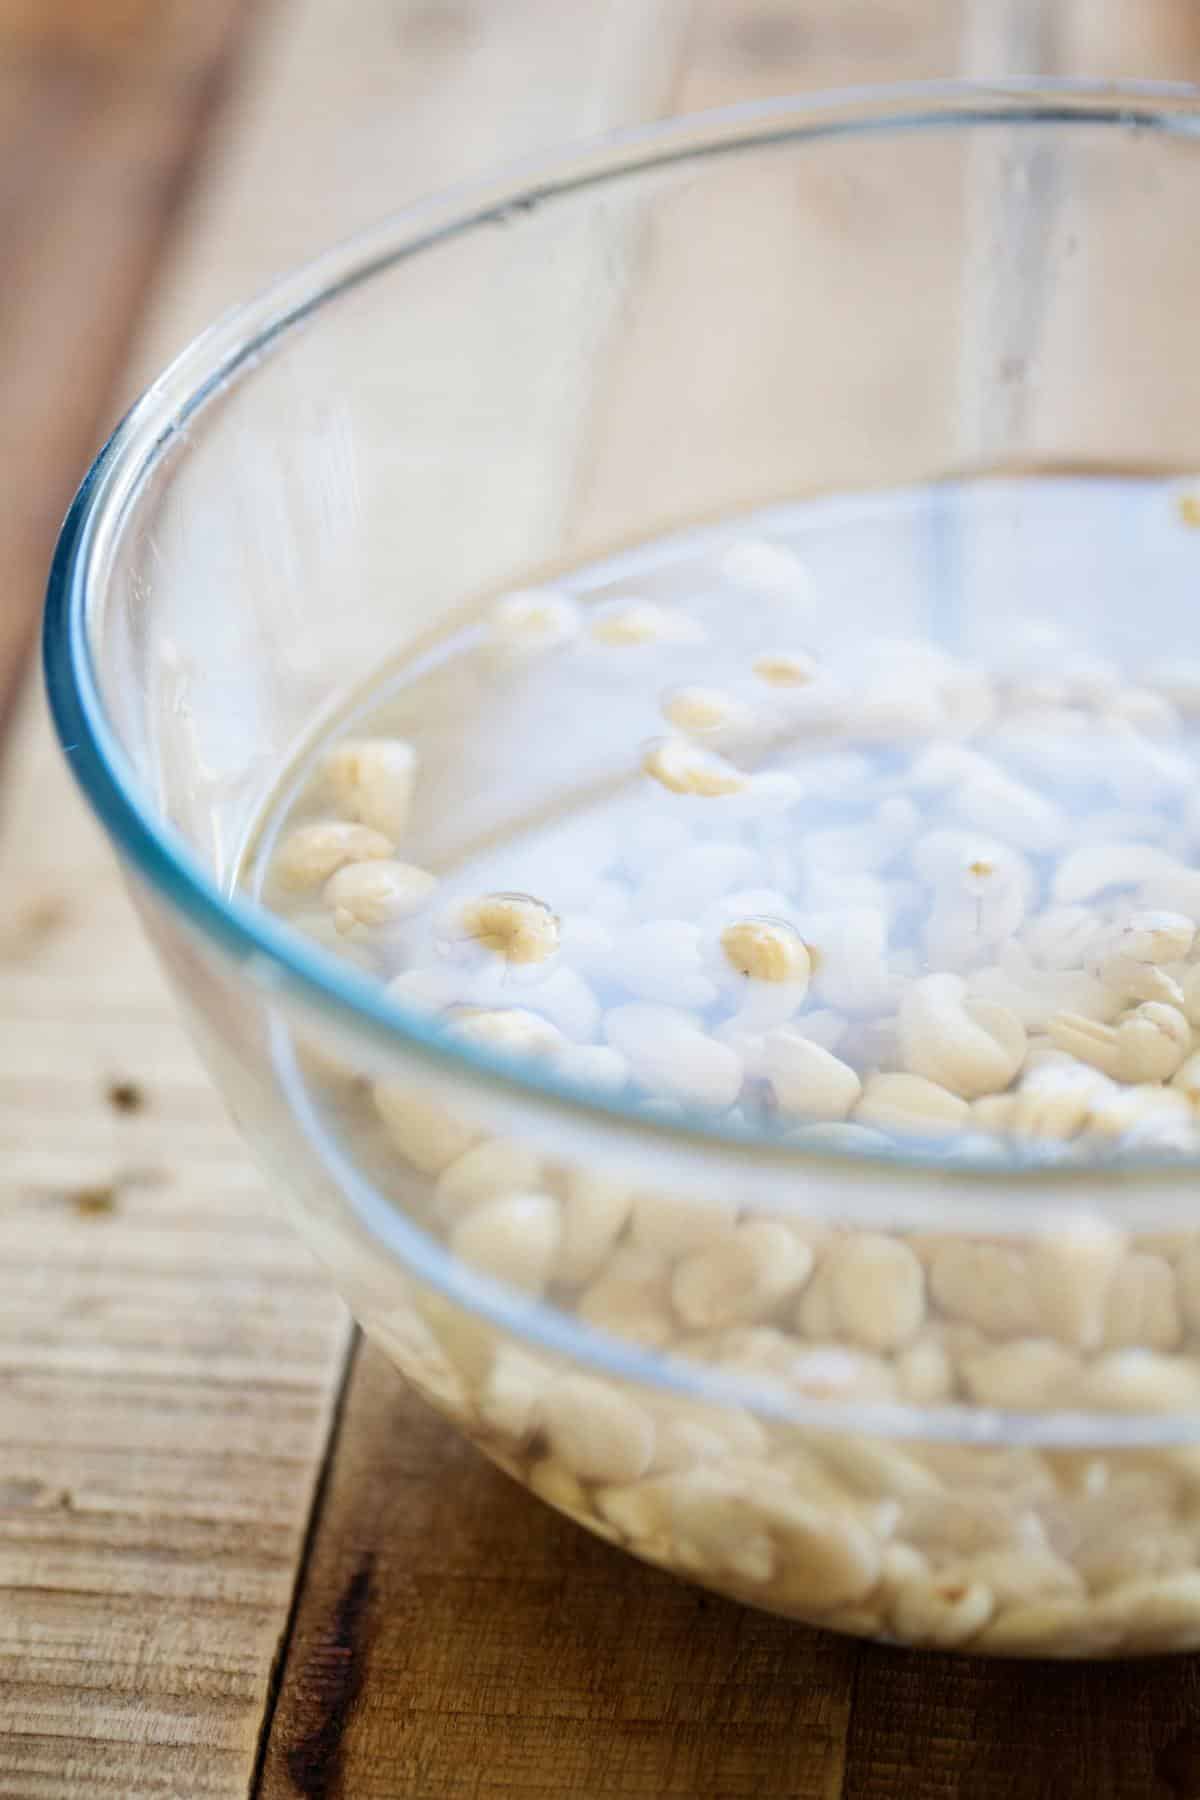
Sure, once in a while if you forget to soak your beans, it’s ok. But beans come out so much better when you soak them.
Here’s why it’s best if you to soak your beans for at least 8 hours (I’ll show you a quick soak method in a minute)
- Soaking beans breaks down the complex sugars (oligosaccharides) to make them more digestible. This makes you less gassy.
- Soaking drastically decreases phytic acid in beans. Phytates can impede mineral absorption and even cling to certain minerals which leaches them from your body. Side note, phytates aren’t all bad, they have actually been shown to be anti-cancerous so a few phytates in your diet won’t hurt you, if you choose to not soak your beans once in a while.
- Soaking creates more evenly cooked beans.
- Soaking beans helps them to cook faster.
How to soak beans
- After you sift through your beans and rinsed them off, place beans in a large pot or mixing bowl.
- Cover with 3 inches of water. Make sure you cover with a lot of water because the beans are going to double in size and soak up all of the water.
- Depending on the bean, let them soak for 8-12 hours.
- It’s easiest if you start this at night and let them soak overnight.
How to quick soak beans
If you forgot to plan ahead to soak your beans, it’s no problem. You can do a quick soak.
- Pour beans into a large pot and cover with 3 inches of water
- Bring to a boil and immediately shut off, remove from heat and cover
- Let the beans sit for 1 hour.
Instant pot directions
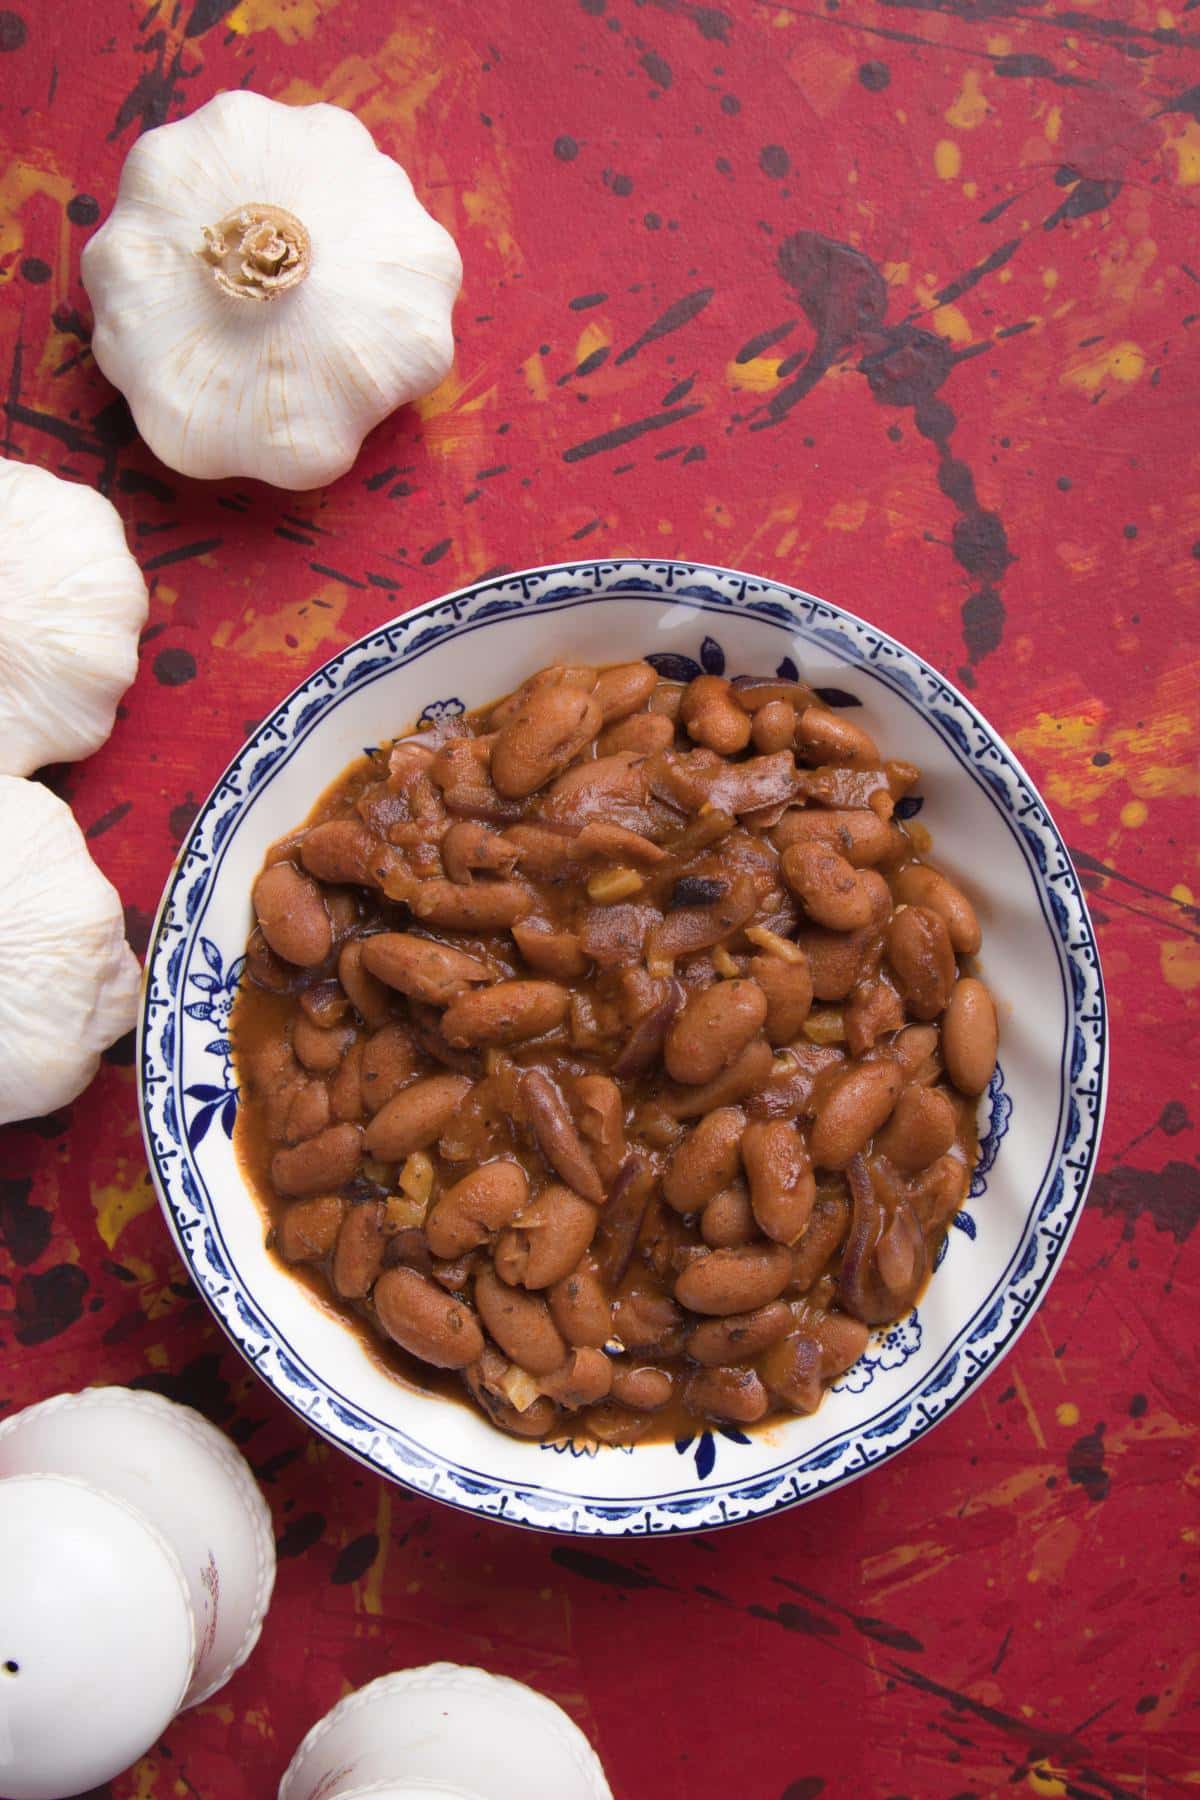
Cooking beans in the instant pot is my absolute favorite way to cook them. It’s by far the easiest and quickest way.
- Sift through your beans and take out any pebbles or broken beans
- Soak for at least 8 hours or do the quick soaking 1 hour method
- After soaking your beans, drain out the water and rinse the beans off
- Place beans in the instant pot and cover with two to three inches of water or vegetable stock.
- Add ½ teaspoon or up to 2 teaspoon of salt depending on your salt preference. You don’t need much salt with pressure cookers as a little goes a long way. Some people say you shouldn’t salt beans when cooking them because it prevents them from softening, but it doesn’t apply to a pressure cooker. Your salted beans will cook very well in the pressure cooker and the salt gets infused more evenly, making for a tastier bean.
- This is optional, but if you want mouth-watering beans, you need to add some aromatics into the instant pot. I’ll give you some more flavor combinations later, but a good one to start with is a quartered onion, a bulb of garlic and a bay leaf. You can even add vegetable scraps like carrot or celery tops. Just take them out later.
- Cook on high pressure depending on the bean. I refer to the cooking times on the instant pot site. Make sure to look up the soaked cooking time.
- Let the instant pot naturally release as quick releasing will make the foam rise up and leak out of the pressure valve.
- Let the beans cool in their cooking water and then serve.
Here's an example of how to cook kidney beans in the instant pot.
Make sure to scroll to the recipe card for full step-by-step instructions.
Instant pot cooking times
All of the times below are on high pressure with a quick release.
- Black beans - 6-8 minutes
- Chickpeas - 10-15 minutes
- Kidney beans - 7-8 minutes
- Lima beans - 6-10 minutes
- Navy beans - 7-8 minutes
- Pinto beans 6-9 minutes
- Soybeans - 18-20 minutes
- Black eyed peas - 4-5 minutes
- Great northern beans - 6-8 minutes
Stove top directions
- Sift through your beans and take out any pebbles or broken pieces
- Soak your beans for at least 8 hours, or do the quick soaking method as mentioned above
- Drain and rinse your beans and place them in a large pot and cover with 2-3 inches of water or veggie stock.
- This is optional, but if you want mouth-watering beans, you need to add some aromatics into the instant pot. I’ll give you some more flavor combinations later, but an easy one to start with is a quartered onion, a bulb of garlic and a bay leaf. You can even add vegetable scraps like carrot or celery tops. Just take them out later.
- Bring the beans up to a boil and immediately turn it down to a medium low simmer. You don’t want to boil your beans as it will make them burst.
- Keep an eye on your beans because if your heat is too high, they will foam up and spill over, or lose their water too quickly and burn the bottom. Make sure it’s a medium low simmer.
- After simmering for 40 minutes, add your salt. Now that the beans have softened, it’s ok to add salt.
- Finish simmering until beans are cooked through. You want them to be soft all the way through, but not mushy. This may take an additional 15-45 minutes depending on the bean, the hardness of you water and your altitude.
- Once beans are cooked, remove from heat and let them cool in their cooking liquid. Take out the vegetable scraps if you added them in.
Make sure to scroll to the recipe card for full step-by-step instructions.
Slow cooker directions
- Sift through your beans and take out any pebbles or broken pieces
- Soak your beans for at least 8 hours, or do the quick soaking method as mentioned above
- Drain and rinse your beans and place them in the slow cooker and cover with 3 inches of water or veggie stock.
- Safety Note: If you are cooking kidney beans, boil them for 10 minutes before slow cooking. This neutralizes a toxin called phytohemagglutinin that can cause digestive distress.
- Add ½tsp - 2 teaspoon of salt
- This is optional, but if you want mouth-watering beans, you need to add some aromatics into the instant pot. I’ll give you some more flavor combinations later, but an easy one to start with is a quartered onion, a bulb of garlic and a bay leaf. You can even add vegetable scraps like carrot or celery tops. Just take them out later.
- Cook on low for 6-8 hours
- Once the beans are cooked, let them cool in their water.
Make sure to scroll to the recipe card for full step-by-step instructions.
If beans make you gassy
If you’re not used to eating beans, they will make you gassy because your gut microbiome needs time to build up and create more of the good bacteria that feeds off of fiber.
- Slowly increase your bean intake. Aim for 1 spoon full every day to give your gut time to build up good bacteria.
- Make sure you’re soaking your beans for at least 8 hours before cooking. Then drain and rinse them before cooking.
- Rinse your beans after cooking if you often get gassy
How to season beans
Here are some flavor combinations that I love. The first two are from Lilykoi Hawaii’s amazing video on how to cook delicious beans. Add all of these in, at the beginning of the cooking process, not after the beans are cooked.
Deeply Satisfying Black-Bean Seasoning:
- 2 tablespoon Onion powder or flakes
- 1-2 tablespoon roasted garlic powder
- 1 tablespoon whole cumin seeds
- 1 tablespoon smoked paprika
- 1 tablespoon coriander seeds (whole or ground)
- 1-2 bay leaves optional for spice: whole chipotle pepper and/or cayenne Garlic cloves, onion scraps, carrot scraps, wilted celery Salt or Aminos to taste
The Most Interesting Chickpea You Ever Met: - (Choose whichever appeals to you!) 1 tablespoon Turmeric powder
- 1 tablespoon paprika (smoked or plain)
- 1-2 bay leaves
- 2 sticks rosemary rosemary
- 1 teaspoon fennel seeds
- 1 teaspoon fenugreek
- 1 teaspoon mustard seeds
- 1 tablespoon dried or fresh marjoram
- 1 tablespoon oregano ½ teaspoon black pepper
- Garlic cloves, onion scraps, carrot scraps, celery scraps Salt or Aminos to taste
- Save plant scraps and use them to flavor your beans: carrot tops, onion tops, bell pepper scraps, old celery, and any vegetable scraps except potato peels.
- Quarter up an onion and throw it in along with a whole garlic bulb and a bay leaf.
Storing tips
Fridge - Let beans cool in their cooking water. Put them in an airtight container with their cooking liquid in the fridge for up to five days.
Freezer - Place them in freezer friendly jars and freeze them with their liquid. Place them in a ziploc bag and freeze them flat. Then you can stack them easily in the freezer.
Thaw them out by running them under warm water or setting them in the fridge the night before you want to use them. You don’t have to thaw them all the way, just enough to get them out of the jar. You can pour them right into your soups or dishes as you’re cooking them.
Drain the liquid and freeze them in jars if you’re going to use them soon as draining them leaves them more susceptible to freezer burn. Freezing them without their liquid allows them to thaw quicker.
FAQ's
Cooked beans last about five days in the fridge and about 3-5 months in the freezer.
Because they’re old
It could also be because your water is hard. Add ¼ teaspoon of baking soda for each pound of dried beans.
What I’ve found is if you’re cooking on the stovetop, it’s best if you wait until beans are cooked halfway and have become slightly tender. Don’t add salt until they’ve cooked for about 30-40 minutes.
If you’re cooking in a slow cooker or pressure cooker, it’s ok to add salt at the beginning.
Bean recipe ideas
If you loved this recipe, leave a 5 ⭐️ rating on the recipe card and comment below!
📖 Recipe
How to cook dried beans
Ingredients
- 2 cups beans (don't use lentils or split peas for this recipe)
- 8 cups vegetable broth
- 1 onion (quartered)
- 2 cloves garlic (minced)
- seasonings of choice
- 1 teaspoon salt
Instructions
Stove top
- Pick through the dried beans and take out any pebbles or any bad looking beans. Add the beans to a large pot or mason jar and cover with 2-3 inches of water. Let them soak for 8 hours.2 cups beans
- Strain and rinse the beans and add them to a large pot with 3-4 cups of water or vegetable broth. Add the aromatics and seasonings of choice. Bring to a boil and let it boil for 10 minutes. Then turn the heat down to a low simmer. Once beans are halfway done add the salt. Partially cover and let the beans cook until they're soft and reach the desired texture. This may take another 30-40 minutes.8 cups vegetable broth, 1 onion, 2 cloves garlic, seasonings of choice
- Once the beans are almost done, add the salt and stir up the beans to let the onions and garlic dissolve into the cooked beans. Once the beans have cooked let them cool all the way, then store or add to your favorite dishes.1 teaspoon salt
Instant pot
- Pick through the dried beans and take out any pebbles or any bad looking beans. Add the beans to a large pot or mason jar and cover with 2-3 inches of water. Let them soak for 8 hours.2 cups beans
- Strain and rinse the beans and add them to the instant pot and add 4 cups of vegetable broth. Add the aromatics and seasonings of choice. Add the lid and set to seal. Cook on high pressure according to the type of bean. Go to the notes section at the bottom of this card for instant pot cooking times.2 cups beans, 8 cups vegetable broth, 1 onion, 2 cloves garlic, seasonings of choice, 1 teaspoon salt
- Let it naturally release for 5 minutes, then quick release. Stir well so the onions and garlic dissolve into the beans. Let cool completely and then store.
Slow cooker
- Pick through the dried beans and take out any pebbles or any bad looking beans. Add the beans to a large pot or mason jar and cover with 2-3 inches of water. Let them soak for 8 hours.
- Add the beans, aromatics, broth and seasonings to the slow cooker. Cover and cook on low for 5-8 hours. If you're cooking kidney beans, boil them for 10 minutes first, to get rid of a naturally occurring toxin that they're high in.2 cups beans, 8 cups vegetable broth, 1 onion, 2 cloves garlic, seasonings of choice, 1 teaspoon salt
Video
Notes
- Black beans - 6-8 minutes
- Chickpeas - 10-15 minutes
- Kidney beans - 7-8 minutes
- Lima beans - 6-10 minutes
- Navy beans - 7-8 minutes
- Pinto beans 6-9 minutes
- Soybeans - 18-20 minutes
- Black eyed peas - 4-5 minutes
- Great northern beans - 6-8 minutes
Nutrition
The nutritional information on this website is only an estimate and is provided for convenience and as a courtesy only. The accuracy of the nutritional information for any recipe on this site is not guaranteed. It should not be used as a substitute for a professional nutritionist’s advice.
And that’s it! I hope you learned all about how to cook dried beans from scratch and how to flavor them so that they taste absolutely delicious.









Rae
Just prepped a large batch of dried beans using these instructions and they came out beautifully! This is saving me money utilizing dried beans versus canned beans and saving me time by having the beans seasoned and ready to go for nutrition dense east access meals! Thanks so much DamnTastyVegan!